Cute Sunhat
This week I made a little sunhat for a toddler. I have been looking everywhere for a nice hat with a floppy brim and I just couldn't find anything I liked - or should I say that sat nicely in the "cutie cute cute" category of my mind.
And as you would - I thought to myself ... "well why don't I just make one" !!!
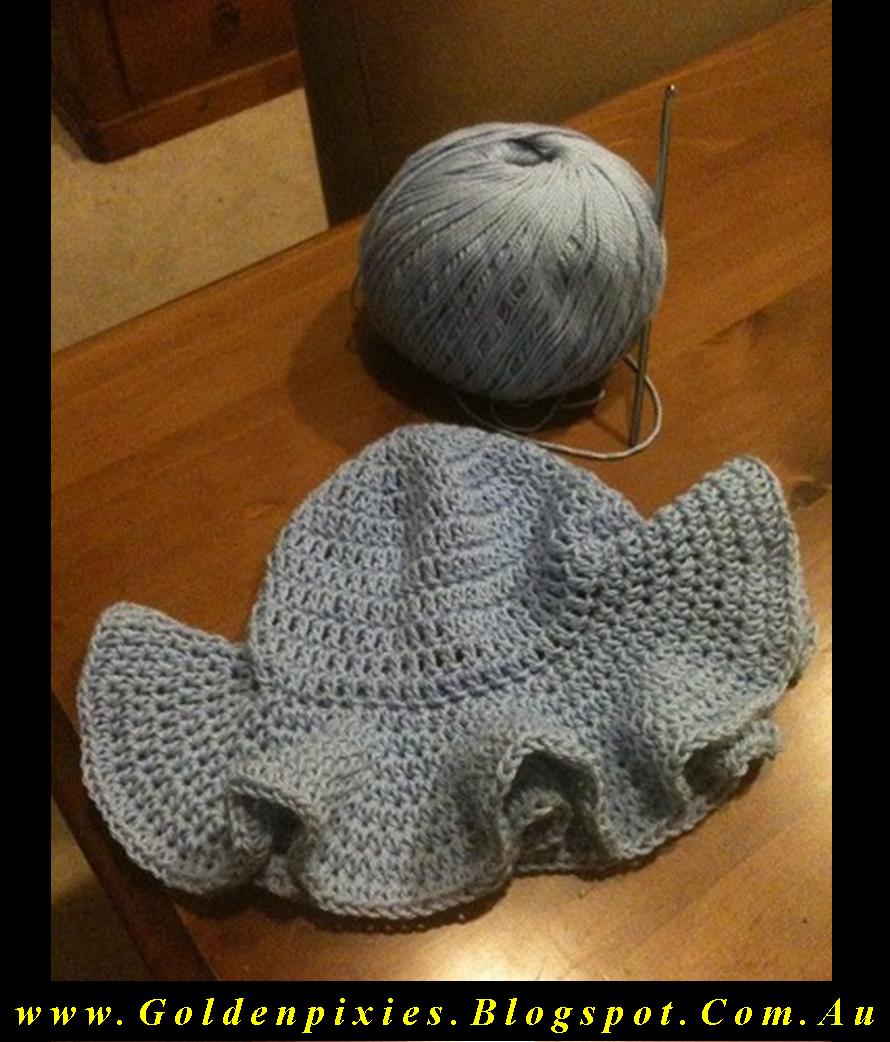
So I did - look at how cutie cute cute it came out:
This being the google age I did start off with a search and found a pattern - so I didn't have to design one from scratch. It is super easy and FREE - called "Peach Happy Sun Hat" and you can get the instructions for it at:
I made two small adjustments in my pattern. The first is that I adjusted the hat part to fit the head of the toddler I was making this for. I didn't actually measure it but took a piece of yearn and wrapped it around the baby's head, then cut that yarn and used it as my measurement to make the hat. I love doing it this way it works a treat!
So for my version of the hat I omited the increase round 7 and just DC for that row.
The second adjustment in my version of the hat is that I used 100% cotton that is thinner than the yarn used in the pattern, so for the floppy bit of the hat I needed to make it slightly longer - and to do this I repeated Round 14 a couple of times more till I had the right length. Et Voila! A cutie cute cute 100% cotton sunhat. I love it!
A diagram promised
Now, the diagram for the granny square I made last week.
Last week I whipped some granny squares togethers remember these: [click here to go to the link, then come back to this page to read further ....]
Though I read both patterns and diagrams I find it so much easier to convert a pattern to diagram for the next time I need to make it. Not only does it act as a memory trigger but it also helps me visualise the final item so I can plan any adjustments should they be required.
I decided to illustrate in 4 steps how I would turn the completed square into a diagram. Here goes.

- the completed crochet item - in this case the square I made
- a clear file pocket / sleeve
- a permanent marker. I like to use one thats really thin and "pen" like - so I use Steadler permanent Lumocolor - size F
Step 2 - prep
- place the crochet square in the sleeve and tuck the sides to the back so it won't shift around. Secure it in place with tape.
It is important that the item can't move around else you're pattern marks won't align properly and you're diagram could well end up being a hot mess...
Step 3 - mark away
You can see in the picture that I pretty much draw the stitch marking on top of each stitch I crocheted. I try and do this immediately after I've made an item so the pattern is still fresh in my mind.
Step 4 - grand finale
After I've mapped out the markings I pull off the tape, remove the item from the sleeve and hey presto I have a diagram of the square!
I like to place a white sheet of paper in the file pocket / sleeve and then put it in my crochet file.
To see a picture of the final diagram click here: [click]
If its a pattern I use often, sell or gift to others I would turn it into a computer diagram - I'll show you how next week.
What inspired me this week
This week I spent some time down on the Bass Coast in Australia - and in particular a lovely town called "Inverloch" and really loved the nature in that stretch of land.
Here is a photo of the view from our room - there are wetlands between the room and the beach and hearing birds chirping at the sunset and dawn was just so nice I feel revived and refreshed.

Now before I start sounding like a toothpase commercial I'll put my pixels down and send you warm pixie smiles for the week.
oOo
No comments:
Post a Comment